


(Also good for any Prusaslicer variant.)
You may have a model already like this one…


Which you know needs to change colour by height rather than painting a certain part. This requires a different technique to the paint tools in Bambu Studio or Prusaslicer, and this is how you do it.
Slice First


Oddly in prusa variants you have to first slice the model, I guess it makes sense since you’re choosing colour swaps at layers that aren’t yet determined, so choose your profile settings (layer height) and slice with the button.
Looking for a Bambu P1S?
You can buy one here*
Choose heights
Once you’re sliced you will see the preview tab.


What you’re looking for is the + sign, and you can drag this downward…


You then need to right click the plus sign (left clicking is ineffective!).


This is somewhat self explanatory. In Prusaslicer you would have a slightly different UI element (left click):


Of course you need to have two extruders active. If you have a single extruder you would be adding a colour change pause (right click):


That is essentially all there is to it. You can then slice again, add any further changes you want, then send to print.


Switcheroo


Worth noting that on Bambu Slicer, you can print with different AMS slots than you chose when slicing using the bottom half of these lozenges. I’m inverting colours here.
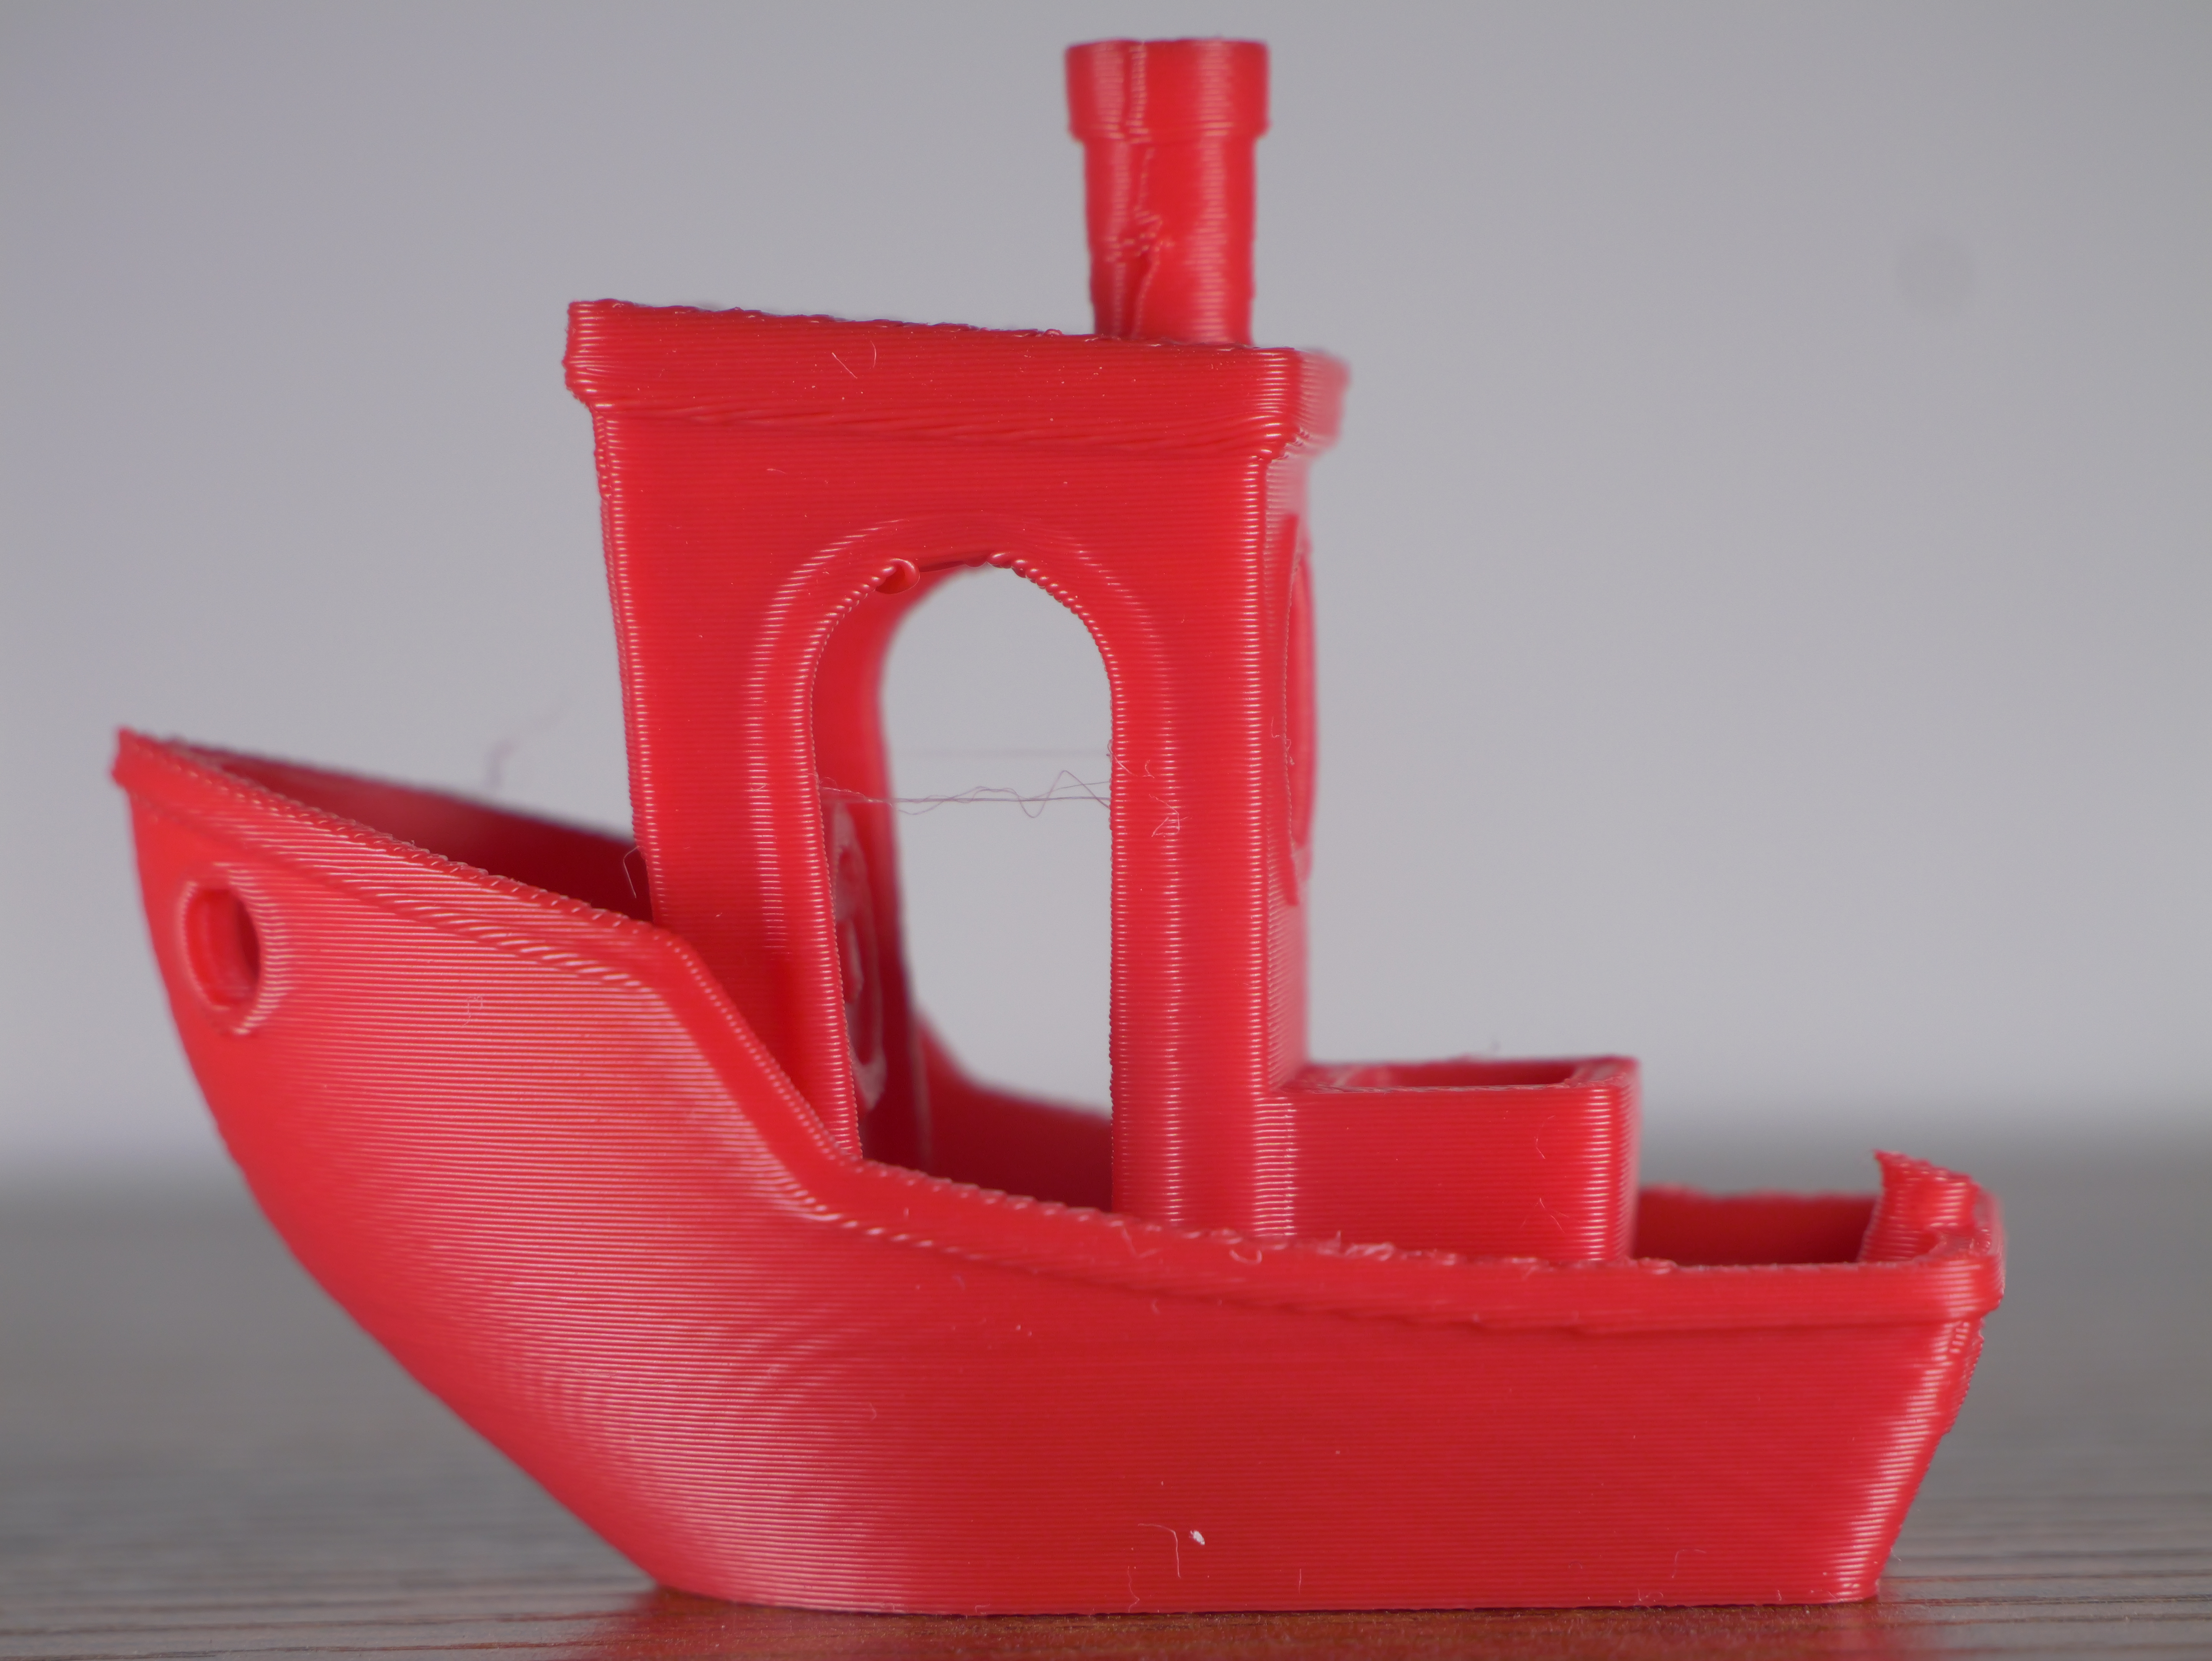
Results


*Links marked are affiliate links, and a commission is paid to us, at no direct cost to you.


Leave a ReplyCancel reply